Growing From Cuttings
“THE WINKIE WAY”
This is for those interested in the challenge.
Dahlias grow readily from cuttings & grow into a normal plant & flower similar to a plant grown from a Tuber in the same season.
The cuttings can be taken in Aug, Sept, Oct & Nov successfully if the basics are followed.
By taking cuttings plant numbers can be increased rapidly and several cuttings can be taken from one Tuber/Clump.
All one has to do this is provide the right environment which can be done without too much trouble and expense.
Plants grown from cuttings grow and bloom the same as plants grown from tubers.
The Process
When the Tuber/Clump has developed a shoot approx. 100mm (4 Inches) is the time to take the cutting.
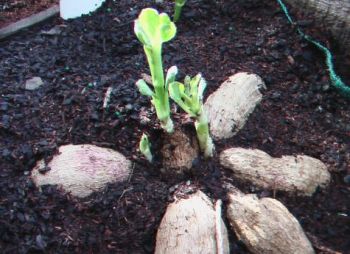
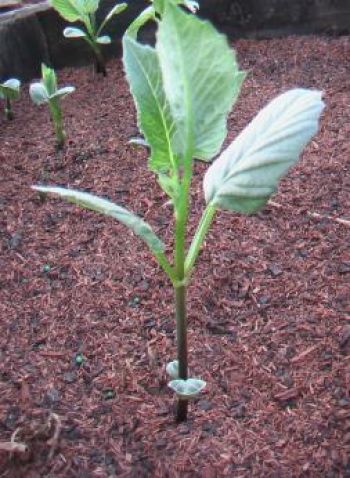
Next step is to remove the cutting by cutting below a leaf node leaving at least one leaf node on the Tuber or Clump. This allows for more shoots to develop from the node you left.
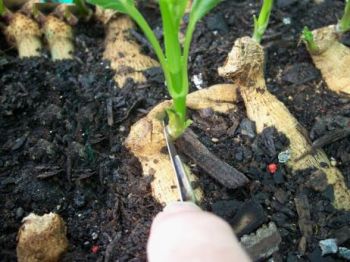
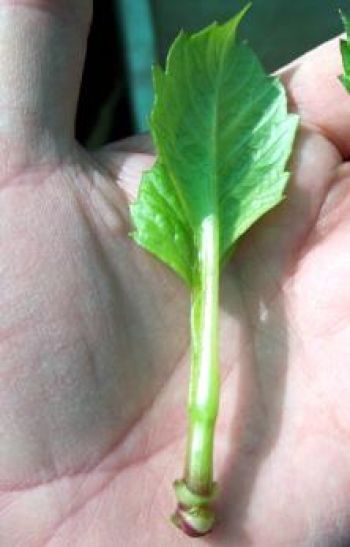
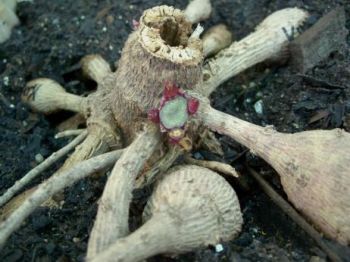
Removing the cutting The Cutting New shoots appearing 5 days later
Preparing a Cutting for potting
It is important to surgically remove the lower leaves & then cut immediately below the leaf node; this is where the roots will appear.
It is these roots that develop into tubers as the plant matures, also feeding the Plant.
Trimming the leaves helps to reduce the leaf area which reduces transpiration when potted.
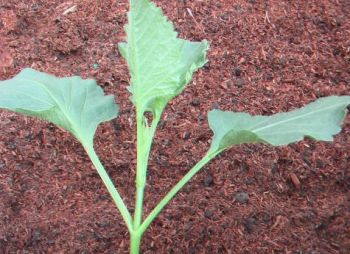
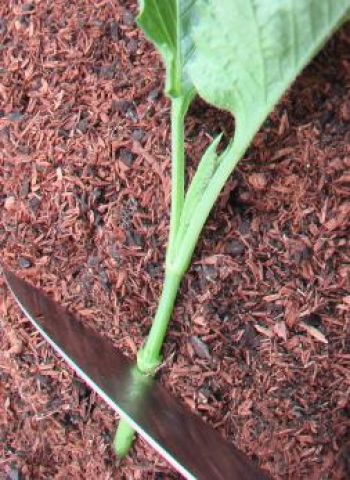
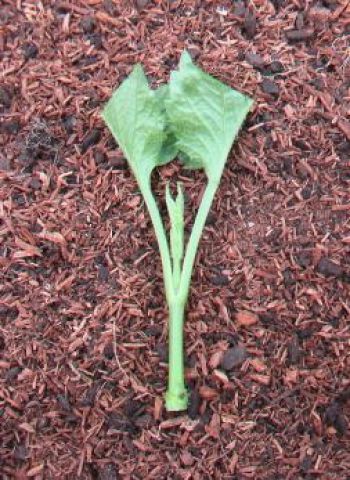
Remove lower leaves Cut below node Trimmed Cutting Ready for Potting
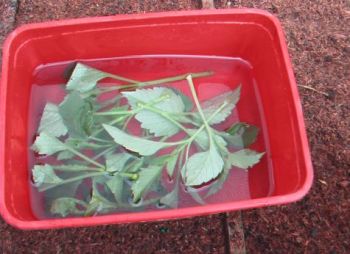
I like to leave the cutting/cuttings in water for about half an hour, prior to potting up, this ensures the cutting has maximum turgidity reducing transpiration when it is potted.
Required Medium
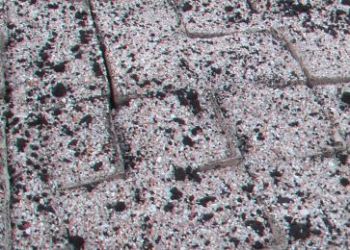
I like to use a medium of Washed Course Sand & 10% Peat or a New Potting Mix. This ensures excellent drainage and reduces any “Damping Off”.
The Pots
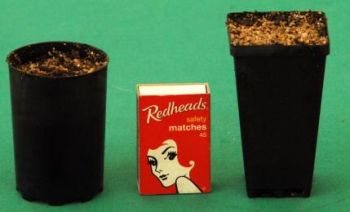
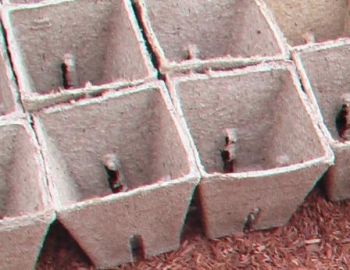
I use plastic pots/tubes (50mm – two inches) successfully & have also used bio-degradable pots with just as much success. Other enthusiasts report that they have used cubes of Oasis or Rock Wool cubes with good results.
The Cuttings
Your cuttings can be potted into your pot of choice.
Soft Cutting Rooting Hormones are optional – I do not use them.
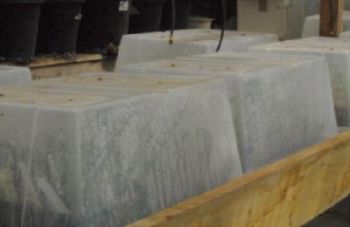
The cuttings are then placed in an environment with high humidity. You can use a Foam Box or Hot House or an upturned Plastic Storage Box that acts like a mini hothouse.
If you are using the covered pot or a mini glasshouse and make sure the moisture level is maintained, the fogging is a good indicator.
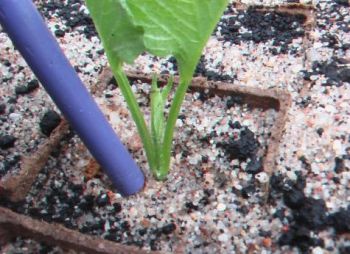
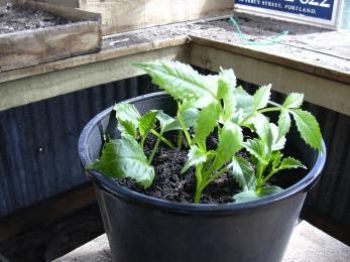
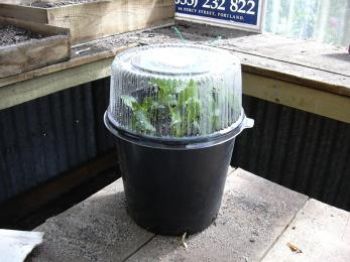
Tamp cutting in Group Pot of same Cultivar Mini-Glasshouse
At Winkie
My cuttings are put into a propagation house & misted several times a day.
Roots start to appear out of the bottom of the pot in approx. 18 days.
The rooted cuttings are left these conditions until they are planted out.
I do give them a foliar spray of a Sea-weed Based product at third strength weekly weakly.
This assists with better root development.
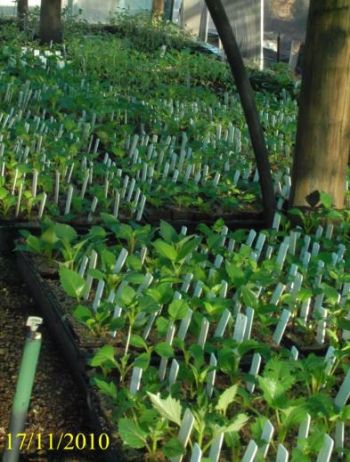
Name Tags
It is vital that all the cuttings are labelled with a name tag.
I find it is best to use the Plastic ticket & write on it with a 2B pencil. This does NOT fade & is very easily scrubbed off at the end of the season so they can be re-used.
We have some labels up to five years old.
Beware not all permanent markers are permanent.
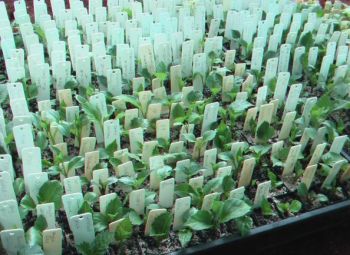
Results
After approx. 18 - 21 Days you can expect to see roots appear out of the pots
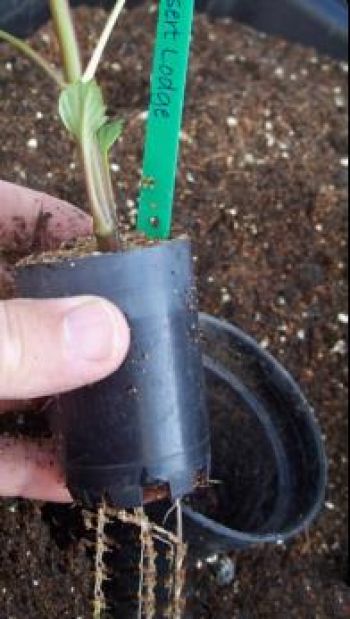
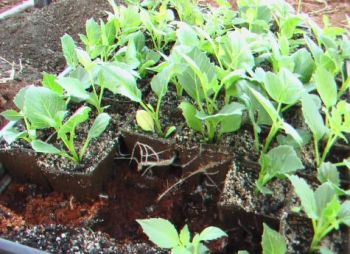
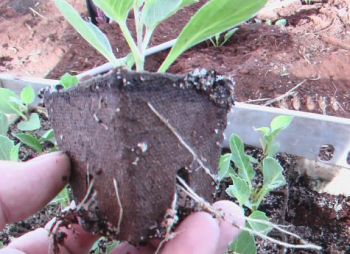
For the home gardener the Rooted Cuttings are best potted on into a 100mm (4 Inch) pot to grow on before planting out after they are hardened off.
Planting Out
When planting the new plant into the garden it is advisable to provide a bit of shade for the first few days.
These plants perform just as well as a plant grown from a Tuber and at times even Better.
These plants grow as good as the ones grown from a tuber,
each providing good blooms.
Enquiries and comments to
John Menzel-
08- 85837369
0408 837369